Category: Uncategorised

EdTech Reflections Blog Post 7

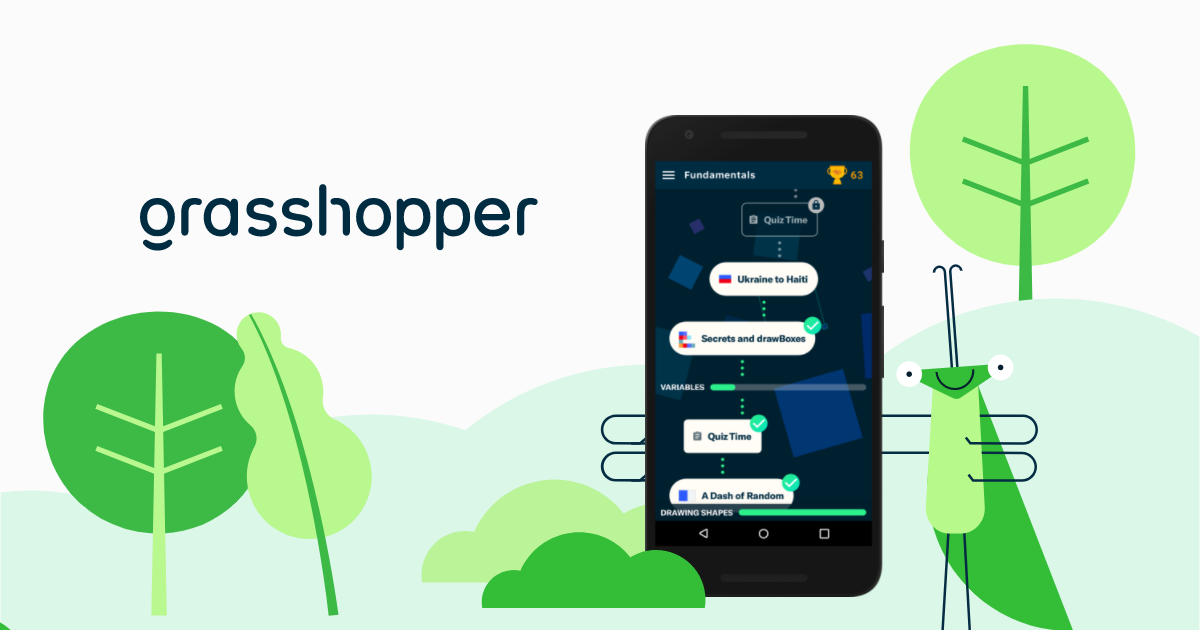
This week in class we tried some different coding programs for kids. It was actually so much fun! I have never tried coding before and the website I tried, Grasshopper, was really cool. I always thought of coding as this impossible, complex thing, and it still is in my eyes, but this website was a great way to introduce coding to students. The instructions were straight forward, and the website was really user friendly. I enjoyed myself, and I know if I was a child and that was introduced into my classroom, I would love it. I think it is great that students are starting to learn the basics of coding in school. That was something that never took place when I was in grade school, and I think it’s an important skill to have, especially because our world is becoming more and more reliant on technology. I also just really enjoyed joining breakout groups and discussing the different coding websites. I feel like I am bonding with my cohort more and more. Now it’s time for reading break which will be great, but it will also be a busy week prepping for the last month of the semester.

Amy

EdTech Reflections Blog Post 5

This week I really wanted to try some graphic design. My partner creates videos and graphics for different companies, so he has Adobe Photoshop on his computer. I played around with it a bit and tried a few different things. I am currently working on a header with my name on it. I used Adobe Photoshop a few times when I attended BCIT, but it has been so long I can hardly remember what all of the little buttons mean. And seriously, there are so many buttons! It’s actually a bit overwhelming. I wish I could just automatically know what every button does, it would make things so much easier. But I guess that would only come with practice. I think that using online programs like photoshop is really important. I want to be able to use these tools to create lesson plans and graphics for my classroom. It would be great to add my own personal touch to everything I do. I’m looking forward to learning more about Adobe photoshop!

Free Inquiry Blog Post 4

Happy Thanksgiving!

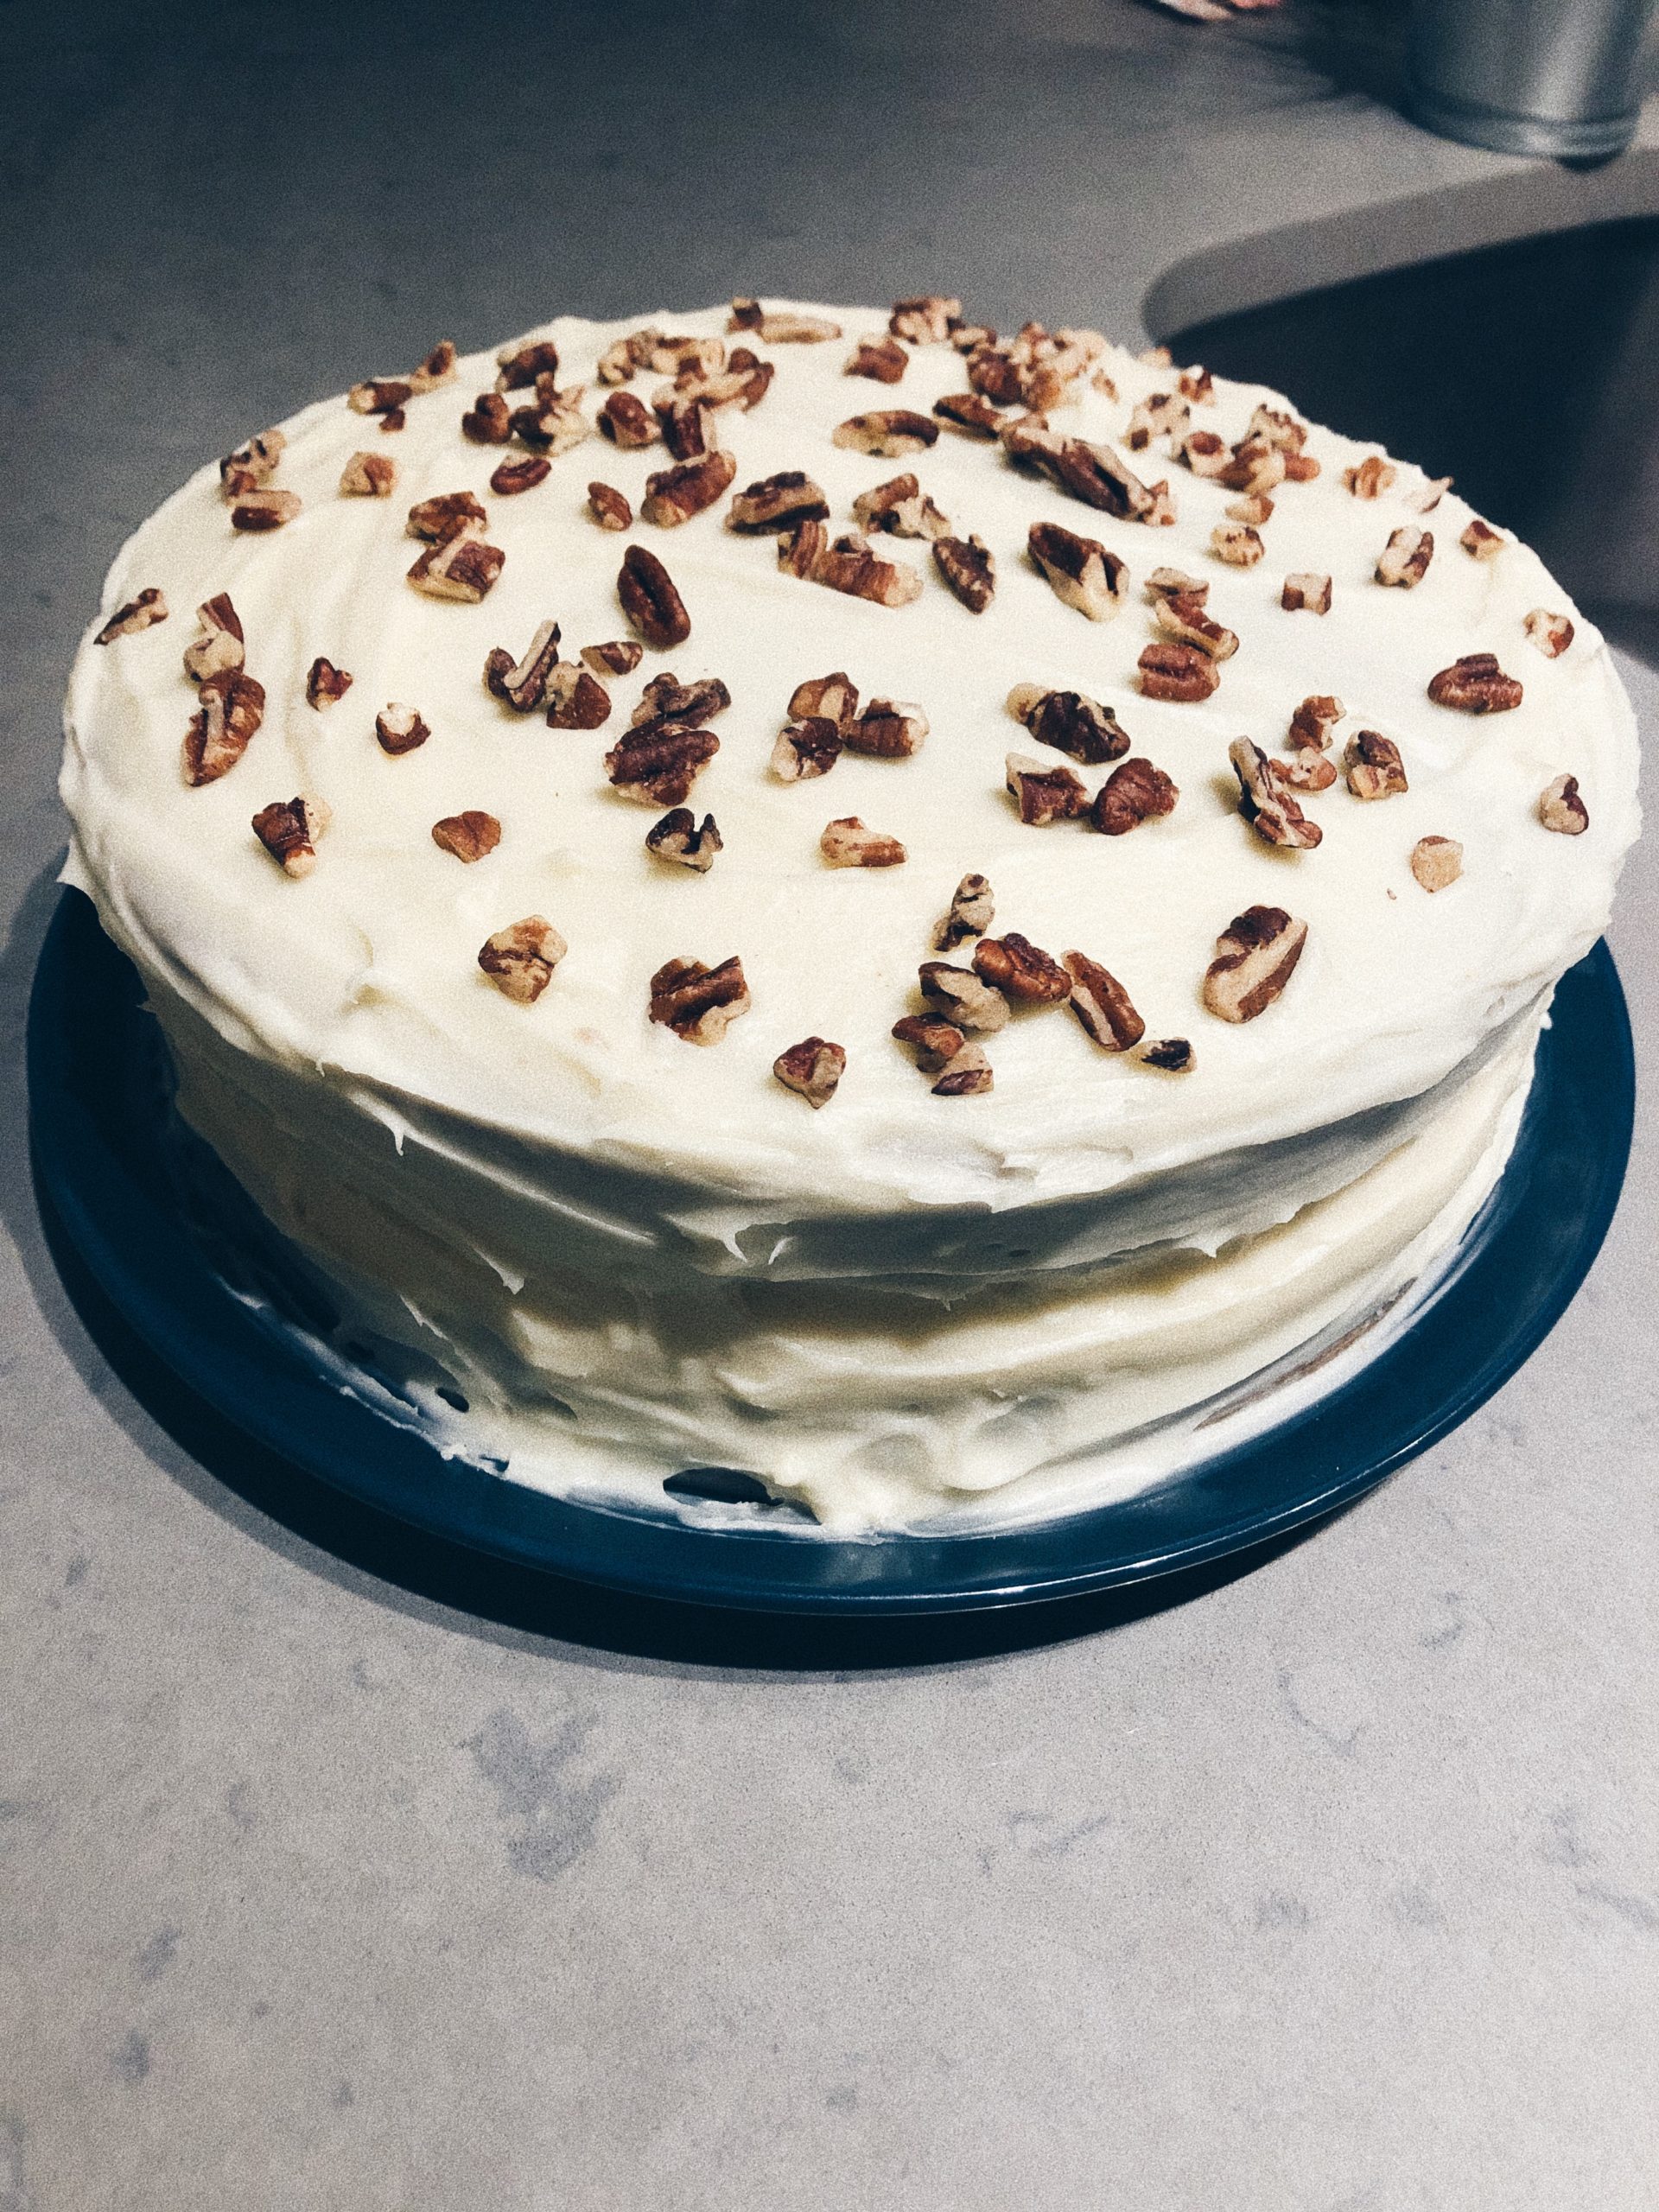
Instead of cooking something this week, I decided to bake! I love baking but it can be a bit tricky because you have to make sure you have the exact amount of ingredients. It’s not like cooking where you can just add a bit of this or a dash of that. One simple mistake, like too much baking soda, could ruin the whole thing.

This Thanksgiving I visited by parents in Courtenay. I decided I wanted to surprise them with a delicious carrot cake. I just needed one thing: a great recipe! I searched online for the perfect one. I knew I wanted the cake to be light, simple, and moist so I came across a recipe online called “Incredibly Moist and Easy Carrot Cake”. You can find the recipe here!


Ingredients

2 cups all-purpose flour

2 tsp baking soda

½ tsp fine sea salt

1 ½ tsp ground cinnamon

1 ÂĽ cups canola or other vegetable oil

1 cup granulated sugar

1 cup lightly packed brown sugar

1 tsp vanilla extract

4 large eggs

3 cups grated, peeled carrots (I used 3 large carrots)

1 cup coarsely chopped pecans (optional, I opted in)

½ cup raisins (optional, I opted out)


Directions

Heat oven to 350 degrees Fahrenheit (I preheated to 375 because my oven is off by 25 degrees)

Grease and flour two 9-inch round cake pans

In a medium bowl, combine flour, baking soda, salt, and cinnamon

In a separate bowl, combine oil, sugars, and vanilla. Whisk in eggs one at a time until combined

Add the dry ingredients to the wet ingredients in 3 parts, gently stirring until they disappear, and batter is smooth

Stir in carrots, nuts, and raisins

Divide batter between two cake pans. Bake until tops of cake layers are springy when touched and when a toothpick is inserted into the center of the cake and comes out clean. I baked them for about 30 minutes

Cool cakes in pans for about 15 minutes, then place them onto cooling racks to cool completely


Now it’s time for the icing! I decided not to use the icing recipe that was included in this recipe. The one I used is called “The Best Cream Cheese Frosting”. You can find the recipe here! Make sure your cakes are completely cooled before icing them. Otherwise, the icing will just melt and drip off the cake.

Ingredients

½ cup (1 stick) unsalted butter softened

8oz cream cheese softened

1 tsp vanilla extract

ÂĽ teaspoon salt

4 cups powdered sugar


Directions

Combine butter and cream cheese in a bowl and beat until creamy, combined, and lump-free

Add vanilla and salt and stir well

With mixer on low, gradually add powdered sugar one cup at a time until combined

Place the first cake layer on the plate it will permanently be on and frost just the top

Place the second layer on top of the first and now completely frost the top and sides of the top and bottom layers.

Sprinkle pecans if you would like!


My family absolutely loved this cake and it was so much fun to make. The cake to icing ratio was perfect. I don’t like it when cakes are over-frosted, it takes away from the complex flavours of the cake itself, so this amount of icing was absolutely perfect. It completed the cake very nicely. I will definitely be making this one again.

Enjoy!
Welcome and Introduction

Before proceeding with this first blog post, we expect you to consider your privacy preferences carefully and that you have considered the following options:

  1. Do you want to be online vs. offline?
  2. Do you want to use your name (or part thereof) vs. a pseudonym (e.g., West Coast Teacher)?
  3. Do you want to have your blog public vs. private? (Note, you can set individual blog posts private or password protected or have an entire blog set to private)
  4. Have you considered whether you are posting within or outside of Canada? This blog on opened.ca is hosted within Canada. That said, any public blog posts can have its content aggregated/curated onto social networks outside of Canada.

First tasks you might explore with your new blog:

  • Go into its admin panel found by adding /wp-admin at the end of your blog’s URL
  • Add new category or tags to organize your blog posts – found under “Posts” (but do not remove the pre-existing “EdTech” category or sub-categories, Free Inquiry and EdTech Inquiry). We have also pre-loaded the Teacher Education competencies as categories should you wish to use them to document your learning. If you would like to add more course categories, please do so (e.g., add EDCI 306A with no space for Music Ed, etc.)
  • See if your blog posts are appearing on the course website (you must have the course categories assigned to a post first and have provided your instructor with your blog URL)
  • Add pages
  • Embed images or set featured images and embed video in blog posts and pages (can be your own media or that found on the internet, but consider free or creative commons licensed works)
  • Under Appearance,
    • Select your preferred website theme and customize to your preferences (New title, etc.)
    • Customize menus & navigation
    • Use widgets to customize blog content and features
  • Delete this starter post (or switch it to draft status if you want to keep for reference)

Do consider creating categories for each course that you take should you wish to document your learning (or from professional learning activities outside of formal courses). Keep note, however, that you may wish to use the course topic as the category as opposed to the course number as those outside of your program would not be familiar with the number (e.g., we use “EdTech” instead of “edci336).

Lastly, as always, be aware of the FIPPA as it relates to privacy and share only those names/images that you have consent to use or are otherwise public figures. When in doubt, ask us.

Please also review the resources from our course website for getting started with blogging: